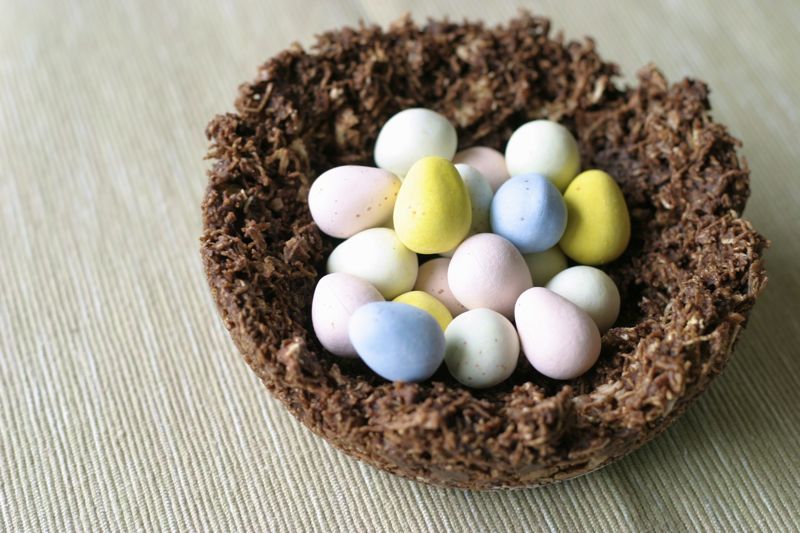


A few months ago I attended a baby shower hosted by friends, Amy & Tami, for another mutual friend, Mindy. I was so blown away by the table theme and centerpiece at this party and especially, the chocolate bird’s nest. I might have been caught nibbling off of it a time or two. It was so good! And I loved the pomegranate seeds they had displayed in it, but I knew EXACTLY what I needed this nest: Easter Cadbury Mini Eggs! So I stole it off the table kindly asked if I could take the nest with me and put it in a freezer container to await the Easter season. When Easter came, I took it out of the freezer and filled it with my favorite holiday candy of the entire year. The kids loved it! What a wonderful way to teach them about nature and the birds that they see flying around them. Of course, I had to be sure to mention we don’t EAT real bird’s nests. Kids. 🙂
Edible Chocolate Robin’s Nests
Author/Source:
adapted from Mustard Seed’s Chocolate Bird’s Nest Tutorial
Ingredients:
- 4 cups Frosted Mini Wheats (Regular or Chocolate)
- 1 cup shredded coconut
- 2 cups milk chocolate chips (or leftover chocolate bunnies 🙂 )
- wax paper
- round bowl for shaping
- Cadbury Mini Eggs or jelly beans or fruit (for eggs)
Directions:
Place Frosted Mini Wheats in a large bowl and crush. Add 1 cup of coconut to it and toss until mixed well. Using a double broiler, (or a heat-safe bowl set over pot of bowling water) melt chocolate. Pour melted chocolate over wheat mixture and mix up until the chocolate evenly coats the dry ingredient. Using wax paper, line a round bowl that you will use for shaping the nest. You could also use muffin tins for small nexts. Make sure to make a little center for your eggs. Place nests in your refrigerator to harden (don’t remove them from the bowl yet). When they are hardened, simply pull the wax paper and they should pop right out. Place the eggs of your choice in the center of your nest and use as a table decoration!
Freezing Directions:
You can make these ahead and simply place them in a gallon freezer bag until you are ready to use. Take them out of the freezer and serve. (Displaying them frozen can help them last longer as a display item.)
This post will be linked at:
- Cooking Thursday at Diary of a Stay at Home Mom
- Full Plate Thursday at Miz Helen’s Country Cottage
- Recipe Swap Thursday at Prairie Story
- It’s a Keeper Thursday at It’s a Keeper
- Ultimate Recipe Swap at Life As Mom
