It’s time to talk prep, cooking and of course, freezing!
Before tackling a cooking day for your little one, first, make sure you have all your ingredients at least a day in advance. Being prepared helps immensely in keeping it a low stress and efficient affair. While the baby food meal plans won’t have as intense of a cooking day as a regular OAMM meal plan, give yourself a couple of days to work your way through the process. Allow yourself at least one day to shop, one day prep, and one day to create some amazing baby food. Pace yourself and do what makes the experience enjoyable for you.
The Night Before

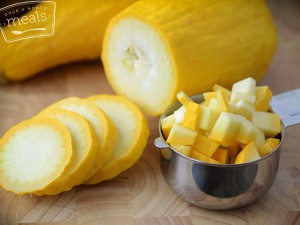
The night before your cooking day is prime time for the bulk of the prep work. Fruits and veggies will all need a good wash before you start chopping. Be mindful of the prep instructions for each meal plan to break down the ingredients accordingly, and in the right amounts. Plan for at least an hour of quality time with your peeler, knives, and cutting board. You can use a food processor to help chop faster. Once everything is peeled, chopped, and ready it goes into storage bags (which will be reused on cooking day) and into the fridge.
Cooking day
Armed with your custom OAMM step by step instructions and prepped ingredients, you are ready to plow through your first baby food meal plan. Each meal plan takes a varying time commitment as the selections for younger babies have fewer ingredients and will naturally take less time to accomplish. However, no meal plan should take you more than half a day to complete. The key players in cooking the baby food will be your stovetop, oven, and occasionally a slow cooker. Any variety of steaming, sautéing and roasting could be going on all at once to make the most of your time and available resources. After all of the ingredients are cooked accordingly, they are pureed and then off to the freezer. Once each puree is finished, let it cool to room temperature. You can then spoon the puree into the individual cubes of ice cube trays or even these great silicone trays. Each cube being roughly 1 oz. keeps your food in convenient-sized individual portions. Once a tray is full, cover it with foil, label it, and put it on a level surface in your freezer. Cookie sheets are a great little trick to help with this. After 24 hours, you can pop the cubes out and put them in a freezer bag, and label them for long-term storage. Just remember that 3 months is the longest time recommend for them to be kept in the freezer. If you have any trouble getting the cubes out of the tray, run warm water over the bottom of the tray for a few seconds to loosen them up.
Time to Serve

More questions or ready to move on to the next stage?
To see what we’ve covered in the series already and what’s ahead check the links below!
- Introduction
- Get Equipped
- Early Start (4-6 months)
- First Foods (6-9 months)
- Help Myself (9-12 months)
- Happy, Healthy Handhelds (12-18 months)
- Big Kids (18+ months)
