
By now you know, or at least you should, that my kitchen is one of the smallest around! In fact, I have been in apartments that have bigger kitchens than mine. An 8 x 11 galley kitchen isn’t exactly what you picture when you think “Mecca of Mega Cooking” but it is what I am currently dealt. However, it hasn’t stopped me from once a month cooking nor starting this here blog! So now that I have properly convinced you that you CAN do this whole freezer cooking in your quaint kitchen, I need to tell you HOW! And believe me, there is a system to the madness that helps. (ALWAYS have a system to your madness). Here is how I control my madness:
Clean Up
The most important step is to make sure you not only have your kitchen cleaned but organized. Since I have limited counter space the first thing I do is make sure that there is NOTHING on my counters when I get started. And I mean NOTHING. That is prime real estate in once a month cooking and I need it free. If you normally house kitchen appliances on your counters, put them elsewhere for your cooking day.
Kick Out the Slow Cookers
The next thing I do is scout out a place in the house for the slow cookers to cook DURING the cooking day. There is NOTHING in the manual that says it has to be plugged in in the kitchen, get creative! If you have a large bathroom (which we do not) use those plugs and counters to house your slow cookers for the day.
Other places I have used include setting up tables in bedrooms or the living room or even on the back porch in the hot months when I don’t want to heat up my kitchen. Wherever you choose, MAKE SURE THAT CHILDREN CAN NOT REACH THEM! The last thing we want is children burning themselves so please be smart about where you place them.
When I am preparing recipes, I will take out the ceramic bowl, fill it with the proper ingredients, and then carry it to the base location. At this point, I start the slow cooker working. I don’t mix the ingredients in the bedroom or bathroom, that is too much back and forth, and a bit gross.

Designate a Spot for Non-Perishable Items Outside the Kitchen
I have a living room that has a wide opening to my kitchen, so the living room is at the kitchen’s edge. I set up a card table (or two) just outside the kitchen, in the living room, for my non-perishable supplies.
The night before my big cooking day, after I have chopped all those dang vegetables, I set up the card table and grab my grocery list. I take it to my pantry and I retrieve EVERY item on it that doesn’t need to be refrigerated or frozen. I place that on the card table. I try to organize by cans, boxes, spices, bags, etc so that I can easily retrieve those items without doing too much thinking on my cooking day.
I don’t organize them by recipe as other readers have reported that this is somewhat confusing because ingredients often get used in multiple dishes. I continue with this process until I have EVERYTHING checked off my grocery list and I make sure that I am ready to go. This is also a good way to find out early if you forgot an item when you were shopping. If you find something missing you still have time to run and grab it before you start cooking.

Designate a Spot for Utensils, Cookware, and Appliances Outside the Kitchen
I know we don’t give you a master list of items needed with each meal plan (sorry, creating the meal plans already takes so long) BUT by reading through all of the recipes you can get a sense of what you will need for your cooking day. And if I am cooking with a partner, which I HIGHLY recommend, I want to make sure that they know where to find items in MY kitchen. You can waste A LOT of time directing a person to items needed when they aren’t familiar with your set-up. This way you can say, “Everything you need is X.”
Like the non-perishable items, I put these items outside the kitchen as well. I want to reserve all the kitchen space I can for actually cooking. I pull out each of the recipe cards I am using, read through them, and then place the items I believe I will need UNDER the table with the non-perishable food items. Again, this is an area I know that no one is going to get into. My kids are not around and I don’t have pets. If you have either you might want to set up another table. The important part is that you designate an area that you can just go to for those items.
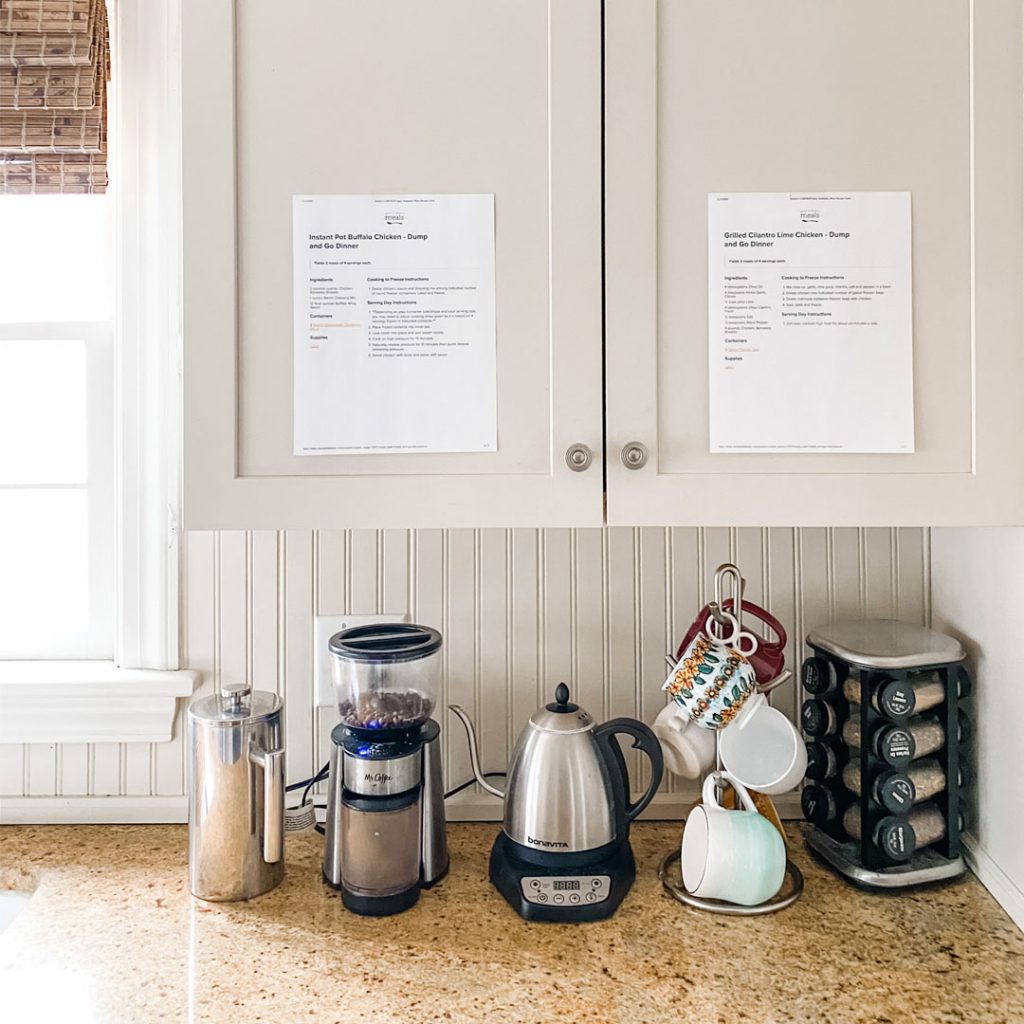
Tape up Your Recipe Cards
Again, counter space is prime real estate, you don’t want all of your recipe cards lying around where they can get messed up or catch on fire. *ahem, ahem*. And I wish I could tell you this was my genius idea, but in fact, a reader turned me on to it. Tape your recipe cards up around your kitchen on your cupboards, walls, etc. That way you can just look up and see the items that you need and instructions you need next without using an extra hand. Genius for any kitchen!

Take Cleaning Breaks
Having another person around to clean isn’t a luxury for me and obviously dishes pile up fast when you are doing this amount of cooking. I’ll be honest, I have been known to throw things in the dishwasher just to get them out of the way until I have time to clean them. I am NOT a clean as you go kind of person. So I let the dishes pile high in the sink and in the dishwasher hidden until I hit a designated “break” point. Or until I run out of spatulas. At the “break” point I do all of the dishes, washing and drying them and putting them back in the designated area. Yes, even the hidden ones. Then I get back to the cooking at hand. I do the same at the end of the day.

Designate an Assembly/Cooling Station
I have an eat-in kitchen and the table serves as our assembly/cooling station. This is not a place to store items or set dishes. It is to be kept free for assembling casseroles, mixing items, and/or letting baked goods cool. This is where those stacking cooling racks become really handy.

Cook, Clean, Repeat
I just keep doing the above over and over again until the cooking is done and squared away. I usually beg my husband to put everything back in its place when I am done for the day. Of course, if he does I have to be okay with the fact that some things won’t make it to their rightful place. The BEST part of having a small kitchen is that the clean-up is rather minimal. How long can it really take to clean up an 8 x 11 space? Much less time than a 15 x 15. Don’t get me wrong, I would take it!
I hope that this gives you some pointers for cooking in a small kitchen. Those of you with small kitchens, is there anything that you do that is especially helpful as well? We would love to hear your helpful hints too.

Disclaimer: This post contains affiliate links.