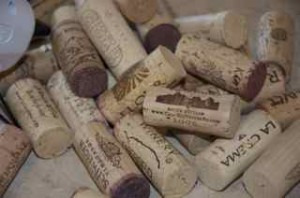
Open your kitchen junk drawer, come on it’s okay, no one can see. If you could have seen in mine, beyond the clutter, screw drivers, pens, sticky notes and bread bag twisties, there was a untidy little pile of wine corks. And it continued to grow, so much that I had to get one of those cute little wine cork cages to put on my counter to store them in. That’s all fine and dandy, but really what ARE you going to do with all those wine corks? My husband and I do enjoy wine, and we have our favorite bottles and corks, that as a slight hoarder, I save. Some have sentimental meaning – places we visited or special occasions we celebrated, while others were just your run of the mill, everyday chardonnay corks. Now, I had great intentions of doing something meaningful and grand with all these corks, but the follow through just wasn’t happening. I had pinned a lot of ideas on my Pinterest boards even. So I finally decided to break down and buy a hot glue gun… (AH HA Moment…). This is what I ended up with..and I am a little proud of myself too!
Wine Cork Board Supplies Needed:
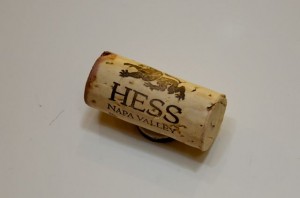
- Assortment of wine corks – apx 50. The real “cork” material works best of this project
- A frame – any size. I had one that the back stand was broken off that I used. You can always find great deals at thrift stores or garage sales and spray paint them any color you want.
- Hot glue & glue gun
- hammer
- picture hanging bracket and small nails
- Begin by arranging your wine corks onto the opening in the frame. This is important before you start gluing – so you know how many corks to use, if you need to alter sizes, etc to achieve a desired pattern. I chose a 2×2 alternating pattern.
- Remove the frame from your arrangement and begin by hot gluing the corks around the border of the frame first. You will need to have the frame backing (the hard cardboard piece) in place, and position the cork so that you are adhering to not only the frame, but also the backing.
- Then, working from one corner, glue one cork at a time to the connecting corks and the backing. I held the cork tightly in place for a few seconds until the glue dried.
- When you get to the point where you are putting in your last few corks, you will probably have to cut a few off to make them fit tightly into all of the spaces .
- Let the frame and cork dry for 2-5 hours before hanging.
Wine Cork Magnet
- To hang, install a picture frame hanging bracket onto the back of the frame. Your frame may already have this…in which case..yipee!! If not, you will need to pound in the nails for the bracket, making sure they aren’t too long to go through the front of the frame.
2 Comments
Join the discussionAwesome, I am seeing Christmas present written all over this! Thanks for sharing.
Hurray! This is just what I was looking for. I know what my husband is getting for Christmas. Thanks for sharing!