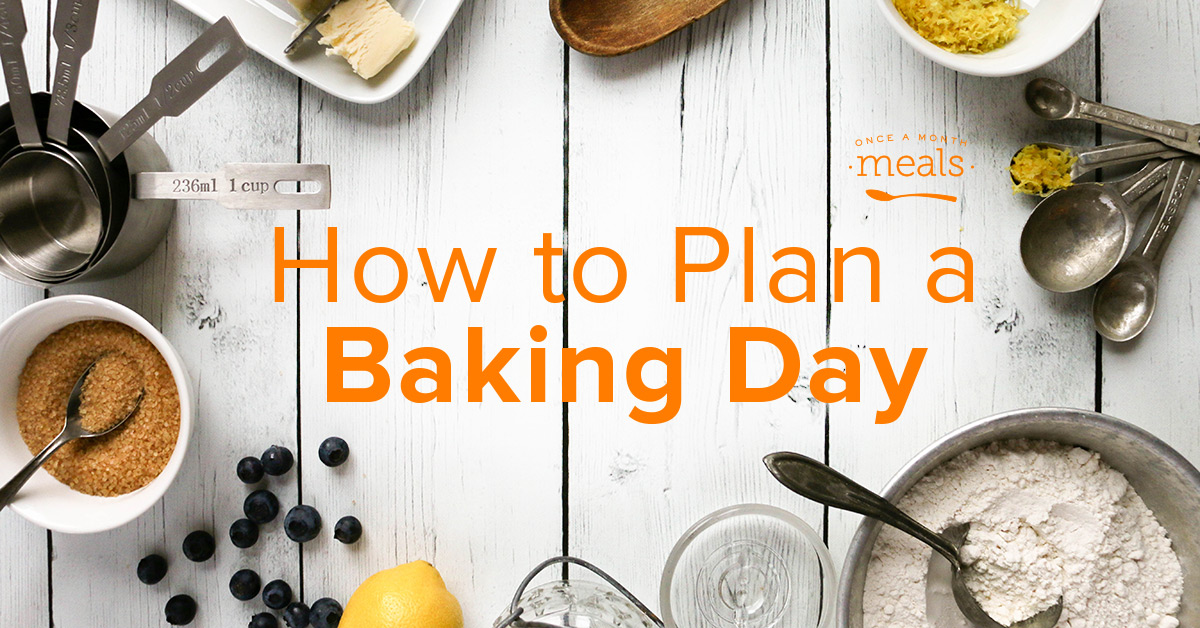
Fall is the perfect time to plan a baking day to stock the freezer with goodies like homemade bread, snacks, and desserts.
Nothing makes your mouth water like freshly baked bread. Sure it is better for you, but the taste is enough of a reason to bake regularly. A special baking day is a great a way to provide some of those extras that you need for your menu plans such as bread for sandwiches, rolls for a side with dinner, muffins and quick bread for breakfast or snacks, and desserts. And they are all freezer friendly!
In the early days of the blog, Tricia posted about how she planned two days of baking to use up some seasonal produce and stock the freezer with her family’s favorite goodies. (This was back when she was the only Once a Month Mom!) We wanted to update these posts to give you the step by step tutorial, but if you’d like to see what Tricia did and see which recipes she cooked, you can do so here.
Now it is time to plan a baking day for yourself with these easy steps!
1. Consider the Time Commitment
A baking day is going to look just a bit different than your regular cooking day. You may have noticed that you don’t usually see more than 3 baked recipes on a freezer cooking menu. This is because they take the most time. While the oven is occupied, you can work on other things, but you can’t bake anything else. Because of this, each baked recipe takes about 2 hours to prep and bake from start to finish (on average).
So the moral of this story is, do not try to bake a full 15 recipes in one day!
A baking day is essentially going to be a mini menu where you will pick four to six recipes. It doesn’t sound like much, but remember that each of these recipes is doubled. And often with baked recipes, you will end up with extras because you can’t split things like a loaf of bread or a recipe that only has one egg. You can play around with the number of servings to find the right yield for baking day.
Don’t forget to leave time for your recipes to cool. Again, you can work on other things like baking the next recipe, loading the dishwasher, or cleaning up the flour that has found its way into every crevasse. But you do not want to rush your baked goods into the freezer. The difference in temperature will cause condensation inside the bag causing ice crystals to form or causing your baked goods to become damp when you thaw them.
2. Choose Recipes
The options truly are limitless! Here are just a few options to get you started, but pick what your family will use most. I’d recommend picking your recipes from different categories for variety, but remember no more than six total.
Yeast Breads
- Homemade Bread (freezer version – login required)
- Homemade Pizza Dough or Whole Wheat Version
- Hamburger Buns
- Artisan Bread
- Homemade Crescent Rolls or Gluten Free Crescent Rolls
Quick Bread, Muffins, and Scones
- Classic Homemade Yogurt Banana Bread
- Gluten Free Dairy Free Pumpkin Nutella Muffins
- Made from Scratch Cranberry Banana Bread
- Mini Cheese Scones
Desserts
Note – The pie kits do not require any baking on your cooking day, so they are a nice add-on that you can work on while bread is rising or other recipes are in the oven.
- Freezer Peach Pie Kit
- Freezer Apple Pie Kit (freezer version – login required)
- Foolproof Pie Crust
- Buttermilk Brownies
- Whole Food Makeover: Chocolate Chip Cookies
Other Sides and Add-Ons
- From Scratch Parmesan Buttermilk Drop Biscuits
- Tortillas
- Gluten Free Dairy Free Almond Cherry Breakfast Granola
- How to Make Your Own Pumpkin Puree (This link is a tutorial, but you can log in and view this recipe link to add to your custom menu.)
3. Create a Custom Menu and Print Documents
Now that your mouth is watering, it is time to put together a Once a Month Meals menu so that you can have all of the resources you need right at your fingertips! If you prefer, you can use our New Fall Baking Day Mini Menu which is full of some of our favorites. Or you can use it as a template for a custom menu with recipes of your choice.
Get the Baking Mini Menu Create a Custom Menu
4. Gather Supplies
First, grab your freezer cooking documents and double check your supplies list. Be sure that you have all of the equipment you need – loaf pans, muffin pans, baking sheets, and any other appliances that may be needed. On those documents, you can also check to make sure that you have all of the disposable supplies you will need such as foil, parchment paper, cupcake liners, and of course freezer bags.
Next, you will need to grocery shop. You may have a lot of baking items in your pantry, but be sure to check them all for freshness if you do not use them frequently. Baked goods are best when they are made of fresh ingredients. Check flours (especially whole wheat flours), spices, sweeteners, nuts, etc.
5. Stock the Freezer!
That wasn’t too tough, now all you have to do is bake and freeze! Turn on your favorite playlist and let the flour fly! Have some fun with it, and your house will be smelling like a bakery in no time.